

Greetings, my long-lost fellow food lovers! It has been so very long since we last saw each other. Has your life also undergone drastic changes in the last 12 months?? To catch everyone up, I got engaged in March, moved and started a new job in July, and got married in September. 2013 turned out to be a mighty crazy year, but it was a good one. I hope it was excellent for you also. One of my favorite recipes to come from 2013 was homemade chicken teriyaki, and I am SO stoked to share it with you! It’s absolutely finger-lickin’ good!

I’m kind of particular about Chinese food. I don’t eat at Chinese restaurants much because I’m not always sure about the ingredients I’m eating, there’s the whole “you eat and are hungry 20 minutes later” thing, and I’ve rarely eaten at a Chinese restaurant and thought, “I must go back!!” Just doesn’t happen for me. On top of that, I rarely make Chinese food at home because it always seems quite complicated, and requires ingredients I never have on hand. Given that context, I have no idea what on earth prompted me to try America’s Test Kitchen’s Chicken Teriyaki the first time…maybe I just had all the ingredients? Whatever it was, I am thankful as this dish has become a regular in the rotation. In fact, this is the dish that Husband asked for on Valentine’s Day… it is THAT good. 🙂
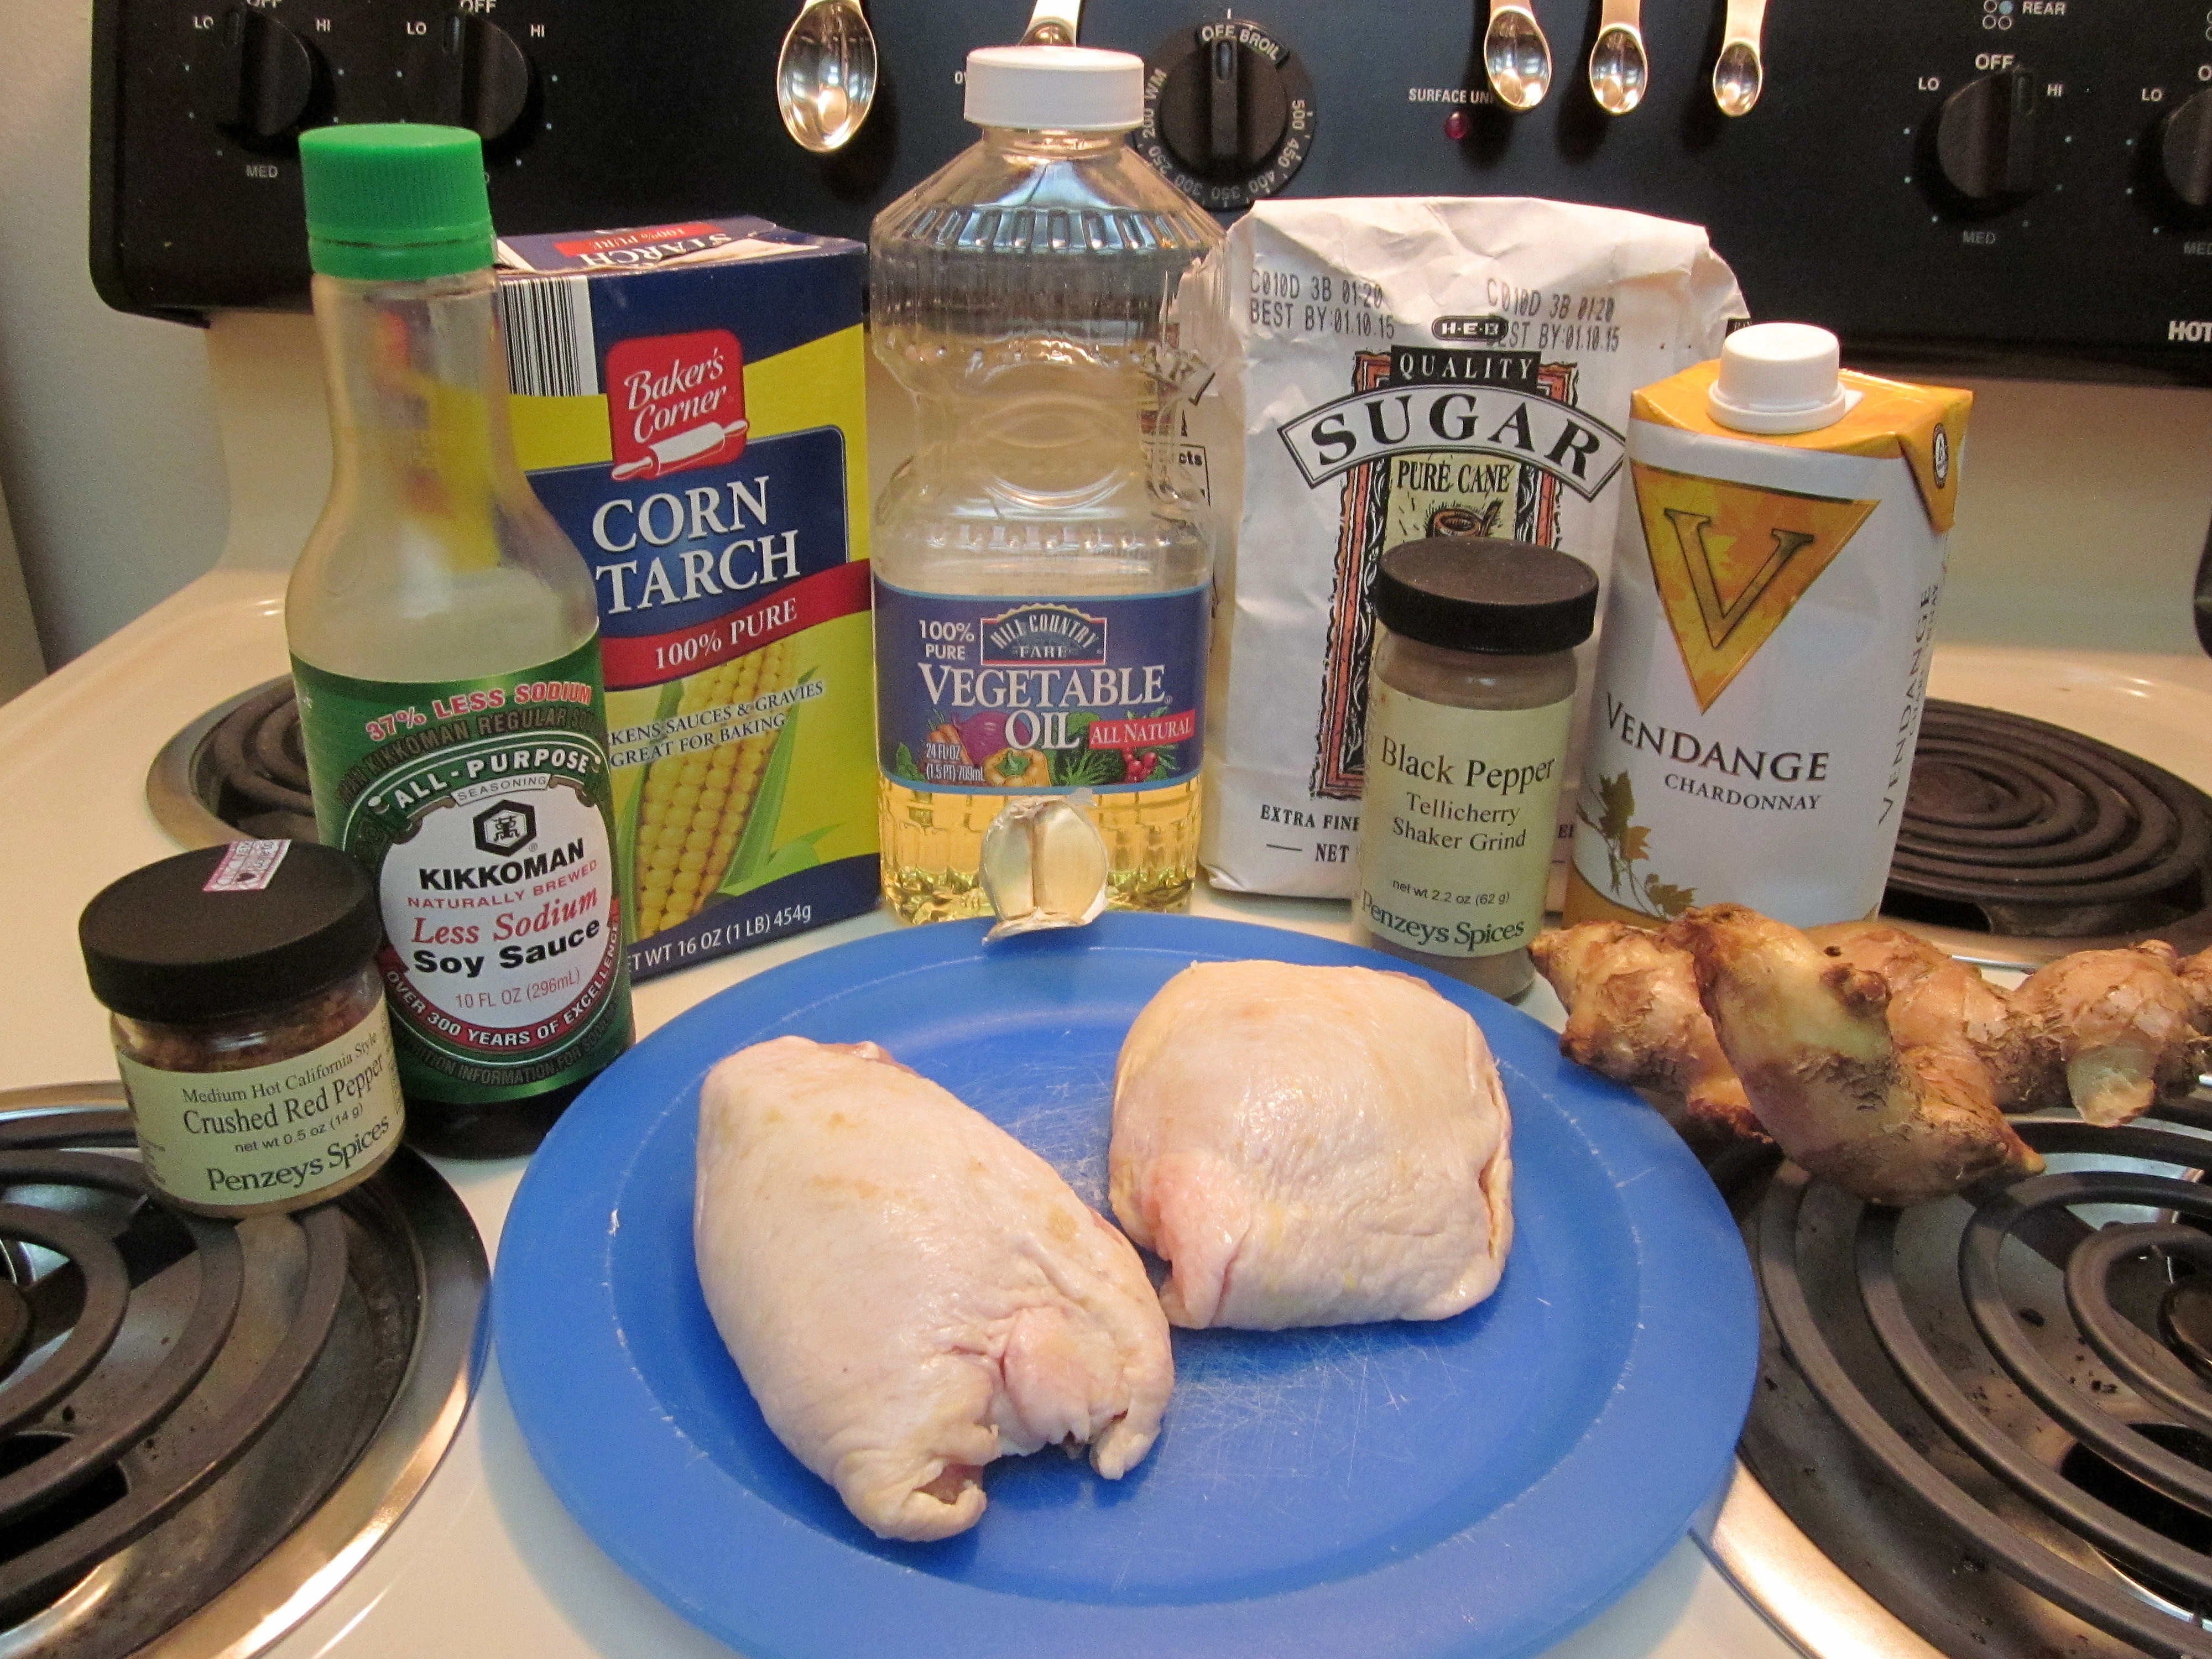
Homemade Chicken Teriyaki (courtesy of America’s Test Kitchen – slightly amended)
Ingredients
2 – 4 bone-in, skin-on chicken thighs
1/2 tablespoon vegetable oil
1/2 cup low sodium soy sauce
1/2 cup sugar
2 tablespoons white wine
3 teaspoons grated fresh ginger
2 cloves garlic, minced
1/2 teaspoon cornstarch
1/8 teaspoon red pepper flakes
2 scallions, thinly sliced – optional
Steps
1. Heat oil in a non-stick skillet on medium-high until it shimmers, about 2-4 minutes. Place dry chicken, skin-side down in the pan. Place another, heavy pan or skillet on top to weigh the chicken down while it cooks. Leave it alone for 15 minutes.
2. While chicken is cooking, mix your sauce. Combine soy sauce, sugar, white wine, ginger, minced garlic, cornstarch, and red pepper flakes in a bowl. Whisk until the sugar and cornstarch dissolve and the mixture is smooth.
3. Turn the chicken, and cook skin-side up for another 10 minutes. If you would like to use a meat thermometer, your goal is 170 degrees.
4. Remove chicken to a plate lined with paper towels to drain. Pour off the chicken grease from the pan.
5. Whisk your sauce to recombine and pour into skillet over medium heat. Let come to a simmer, whisking or stirring occasionally so it doesn’t stick or burn.
6. Add the chicken thighs back to the pan and spoon the sauce over the top. Spoon and simmer for several minutes as the sauce continues to thicken and get shiny. This should take 3 – 5 minutes.
7. Scoop your chicken and a generous portion of sauce onto a plate with your desired sides and eat up!

This recipe comes from one of the Test Kitchen’s 30 minute recipe cookbooks, and the few times I’ve timed it from start to finish, it’s taken me 34 – 36 minutes if I’m moving efficiently. I feel pretty good about that timing! Of course, it doesn’t take into account also managing sides to go with your dinner so it can help to have a partner in the kitchen to keep it all moving along so you can have dinner on the table in a timely fashion. We’ve eaten this with numerous iterations of rice, broccoli, carrots, and even pasta on the side. I recommend any of those to you!

Having made this dish about a zillion times now, I have a few helpful hints for you.
- The use of the heavy pan or skillet on top of the chicken is critical to producing the crispy skin on the chicken. It helps press the thigh down into the hot pan, flattening it a bit, and increasing the surface area ratio of the skin to hot pan. I use a cast iron skillet or a Dutch oven.
- Use a screen guard when you flip the chicken. This recipe generates a fair bit of grease, and it spatters. Kind of a lot.
- The chicken should come right off the pan and be easy to flip from the first to the second side. If it resists, give it another 2 – 3 minutes. Don’t dilly-dally, trying to get it to flip. See aforementioned spatter.
- If you have a flat whisk, it works wonders in the sauce when you first put it into the pan. If you don’t have a flat whisk, spend the $7 – $10 to get one. I use mine ALL THE TIME.
- This recipe makes a generous portion of sauce because I like lots of sauce for my rice and any leftovers. You could cut it in half for 2 thighs and still have generous sauciness.
- The flavor components (garlic, ginger, red pepper) really can be amended to your personal tastes. If you want it spicier, try adding more ginger or red pepper.


When I started making this dish, I was a little skeptical about skin-on, bone-in, chicken thighs. That seems to be the TOTAL opposite of everything I’ve ever heard about eating chicken. I mean, don’t we all eat boneless, skinless chicken breasts? Isn’t that the thing to do? However, I am 100% convinced there is no way this dish would work with boneless skinless chicken breasts. This meat needs the bone to help it stay moist and tender while cooking at a high heat. It needs the skin to protect the chicken and to develop the most ah-mazing crispy skin that takes well to the teriyaki sauce. Trust me, you want that crispy skin! If you are a white meat eater only, take a deep breath, pre-heat your skillet and give it a go – at least once. I have no reason to believe you will be sorry.

I think the chicken reheats pretty well, although the skin loses a touch of the crispy factor. Nonetheless, the flavor is still finger-licking-good. I’ve taken it to work for leftovers and been quite satisfied. The sauce also keeps well for a few days covered and refrigerated, if you end up with extra sauce, but no chicken. Pour it over veggies or rice and add some zestiness to yet another meal! I really don’t think you can go wrong…even if you choose to eat it by the spoonful like some members of my house do.
Let me know how you like it and what side dishes went with your chicken teriyaki. I’d love to hear how it went for you! Happy eating!
PS – Pictures from the kitchen in Austin and the kitchen in Miami were used to illustrate this blog. 🙂

Filed under: Chicken | Tagged: Asian, Chicken, Chicken Teriyaki, Chinese food, garlic, ginger, homemade, soy sauce, teriyaki sauce | Leave a comment »
